26 November 2015

Corn and Beans: A Quilting Adventure

PART FOUR: The "Strip"

After taking a hiatus from quilting, I managed to finish the four-piece triangle and move onto the last individual pieced section of the corn and beans quilt: the "strip". The anatomy of the corn and beans block is below.


 Because I needed to plot the composition of the block, I decided to sew ahead. The finished size is 12 x 12 inches:


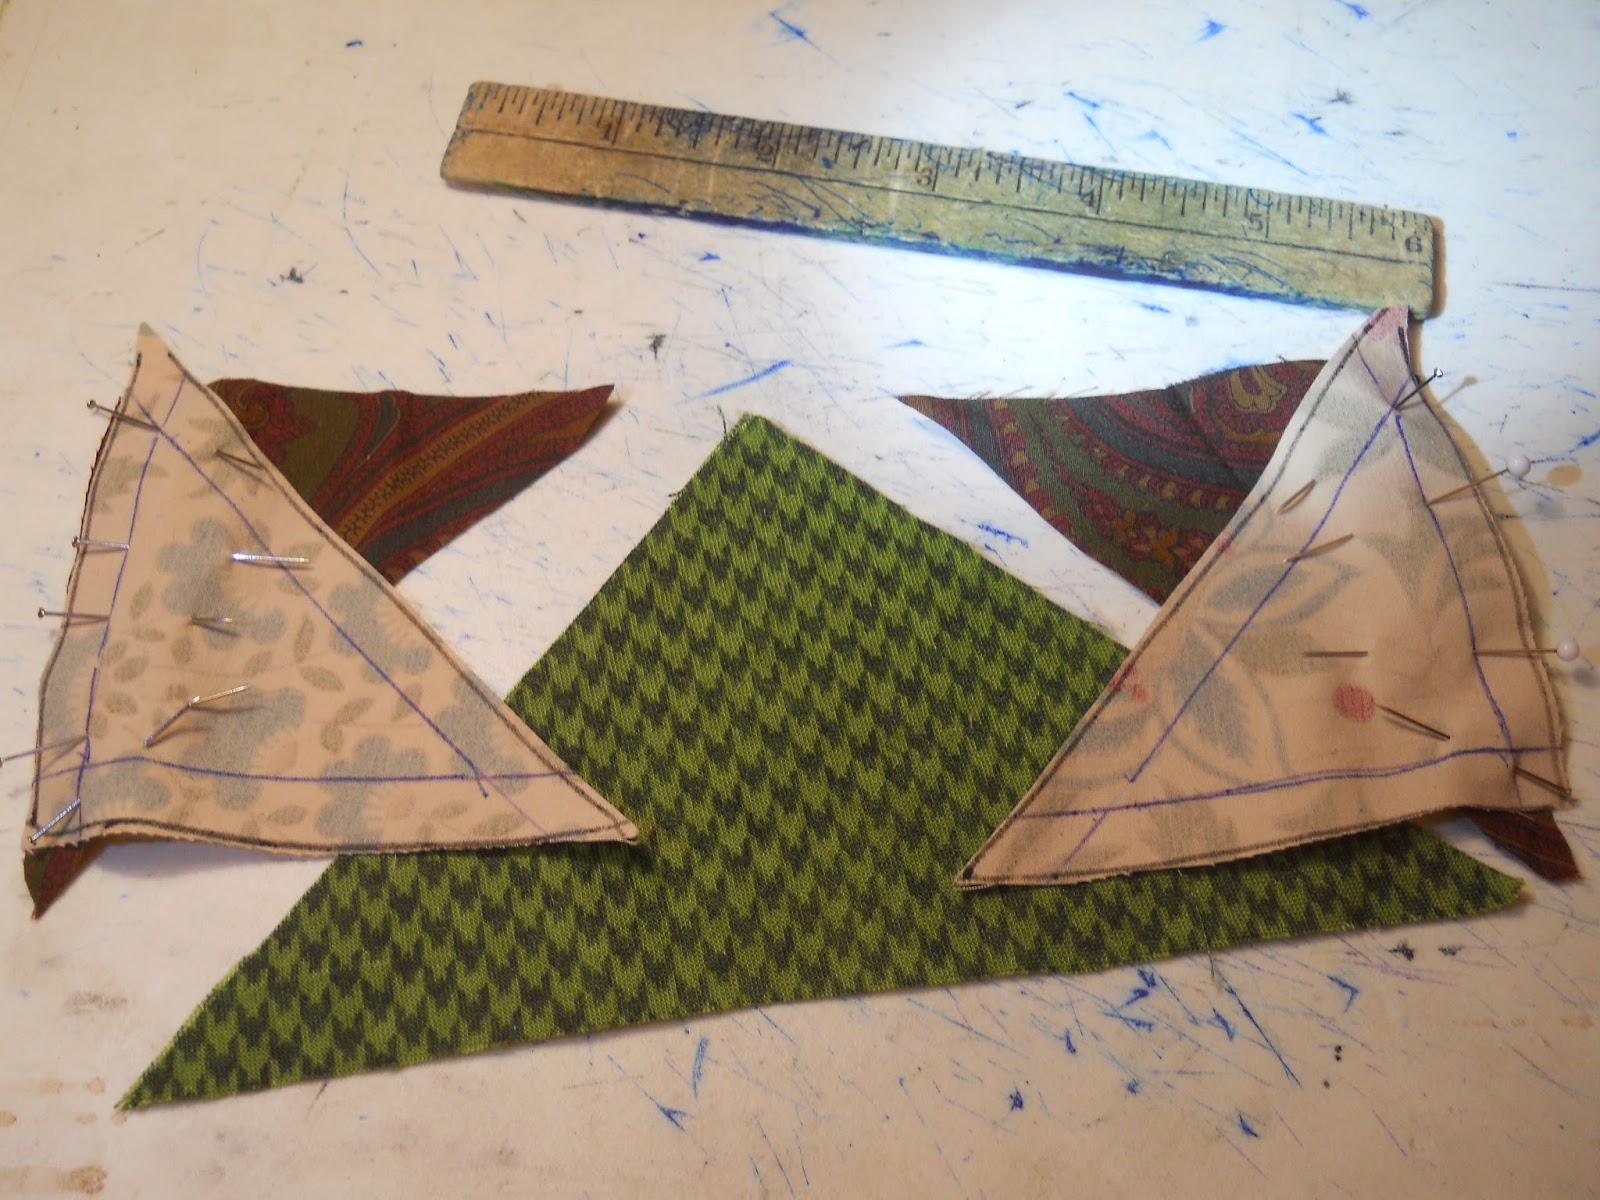
As with the four-piece triangle, there are 288 "strips", each consisting of one 3-inch green King's Arrival triangle, two 2-inch Jacobean triangles, and two 2-inch brown paisley triangles.


The first step is to extend the sewing lines,


then plot the layout.


After determining the layout, pin the smaller triangles together,


and sew the first pair together, and press the Jacobean triangle back.


Repeat the process with the second pair of triangles, then pin the first pair to the right side of the green triangle,


and press them back.


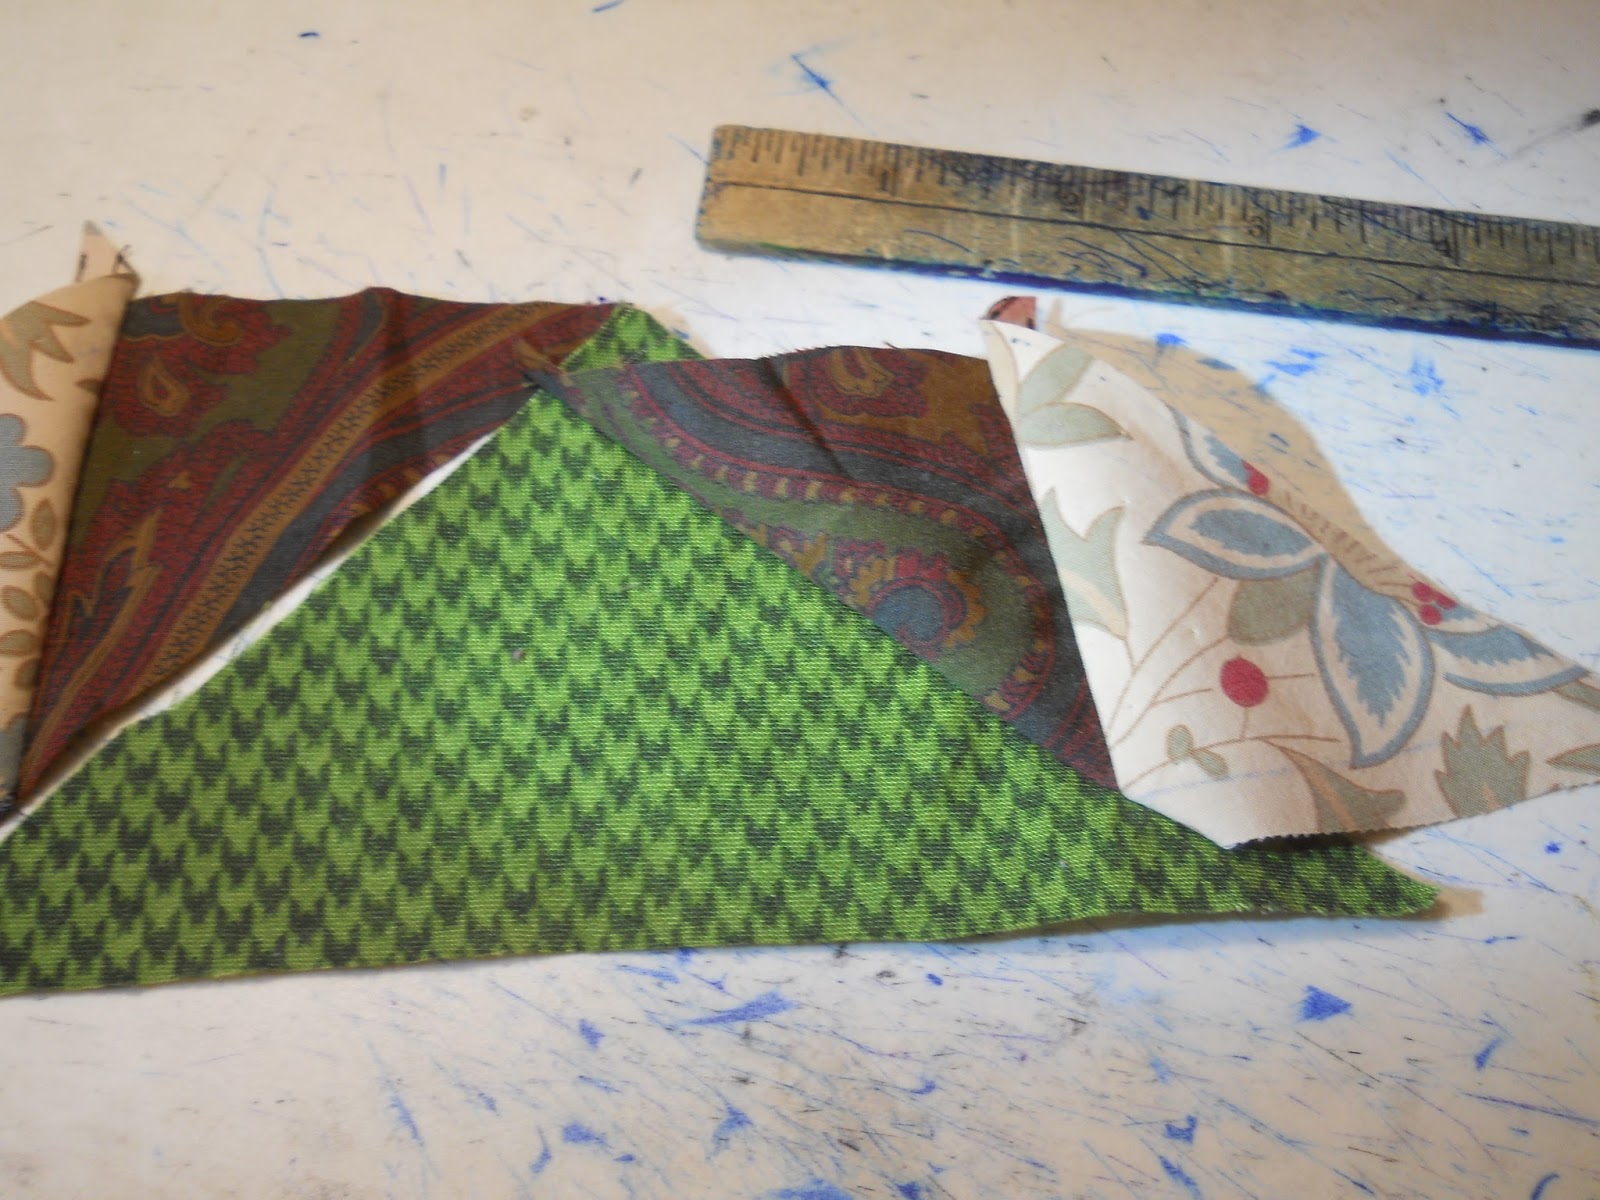
Pin the second pair to the left side of the green triangle and sew it in place.


Press back the second pair of triangles. The "strip" is complete.


 Totals:

Pieces per "strip": 5
Number of "strips" per finished quilt size: 288 

Number of "strips" completed: 61
Individual pieces cut: Green hounds tooth (King's Arrival): 78 of 288
                                   Jacobean triangles: 192 of 578
                                   Brown paisley triangles: 180 of 578

04 July 2015

Two More Dresses...

Since it was Spirit Week at work, I decided to make an Empire gown for Throwback Thursday, using Folkwear's pattern as a base (thus saving my original Empire gown, which is eight feet in length, including the train, for more formal occasions). Rosie Marie, the patient dress form, is sporting a laie from Tropical Tuesday.


 And, just because, I made myself a dress using a pattern from Etsy: the Meghan Peasant Dress.


Both dresses were entirely hand-sewn.

12 May 2015

An Interlude

Because there were scraps of fabric left over from making a Vera Bradley-eque lunch box for my youngest daughter, I made her a matching messenger bag...


Stitched entirely by hand...

11 March 2015

Corn and Beans: A Quilting Adventure

PART THREE: The Three-piece Triangle, Continued


Past the mid-way point!


Pieces per triangle: 4
Number of four-piece triangles per finished quilt size: 288 
 
Number of four-piece triangles completed: 145
Individual pieces cut: Green hounds tooth: 235 of 288
                                              Jacobean triangles: 335 of 990

24 February 2015

Corn and Beans: A Quilting Adventure


PART THREE: The Three-piece Triangle


The second component of the corn and beans quilt is the three-piece triangle. It is comprised of three two-inch Jacobean triangles and one two-inch green hounds tooth triangle.

To create this triangle, the sewing lines need to be extended.


Trim the excess.


Then pin one of the Jacobean triangles to the corner of the green triangle.


Sew the two triangles together,


then press the triangles open.


Pin and sew another Jacobean triangle to another corner of the green triangle.


Press the triangle open.


Pin and sew the third Jacobean triangle to the base of the green triangle.


Press open the Jacobean triangle.


The completed triangles...so far...


Totals:

Pieces per triangle: 4
Number of four-piece triangles per finished quilt size: 288 

Number of four-piece triangles completed: 82
Individual pieces cut: Green hounds tooth: 82 of 288

                                        Jacobean triangles: 296 of 990

08 February 2015

Corn and Beans: A Quilting Adventure


PART TWO: The Center Block

The center block is the largest, and consists of four four-inch triangles of two fabrics sewn together to create a eight-inch square.

To create the triangles, I cut out two cardboard patterns, one that is four inches and the other larger to create the seam allowance.


After cutting out the fabric, the next step was extending the outline of the four-inch triangle to create the sewing lines,


and pinning the two triangles together


then sewing them.


Next, the two triangles are pressed open


and the sewing line extended across the top of the fabric.

Laying out the other triangles making certain that the pieces of fabric are opposite each other follows,


then sewing them together.

 
After trimming the excess,

 
both sets of triangles are sewn together,

 
and the seam pressed open.


The finished square:


For directions, I relied heavily on the Quilting Assistant.

Totals:

Pieces per center square: 4
Number of squares per finished quilt size: 72 
Individual pieces cut: 288 (144 of each color)

COMPLETED

Corn and Beans: A Quilting Adventure


PART ONE: The Pattern

After making quilts for the girls, I was inspired to make a quilt for ourselves. 

I began searching for traditional quilt patters and came across something called Corns and Beans which, according to Popular Patchwork, was named for "the staple diet for many settlers and pioneers in America." Quilting Assistant described the pattern as "a bright, sunny block comprised of right triangles in three sizes using three fabrics." The site also stated that the block was "traditionally worked up in white, gold and green, this block's colors are reminiscent of a summer's vegetable harvest".

For me, the number three has significance, perhaps because of its repetition in myths, legends and fairy tales. The thought of a quilt comprised of triangles, three different sizes and three different colors or patterned fabric appealed. Plus the quilt pattern is, quite simply, stunning. Here are some examples:


Once the pattern for the quilt was chosen, the next step was choosing the fabric. For two of the fabrics, I fixed on a Jacobean-patterned cotton and brown cotton paisley. As my husband likes green, he chose a houndstooth pattern of dark green and green.

The next step: putting the blocks together....


Sources:
Image One
Image Two
Image Three


04 January 2015

A Quartet of Christmas Gifts

For this Christmas, I decided to make two Vera Bradley-inspired lunchboxes and messenger bag as well as a quilt for my youngest daughter.

The lunchboxes were made entirely by hand while the quilt was made by hand and then finish-stitched with a late 1800s Singer treadle sewing machine (something which required learning how to wind a new bobbin).


 The lined interiors of the message bags and lunchboxes:


The lunchboxes are insulated with Owens Corning SealR Sill Plate Gasket from Home Depot reinforced with duct tape.

 The lunch boxes were finished in time for Christmas while the messenger bag and quilt were finished by 28 December 2014.